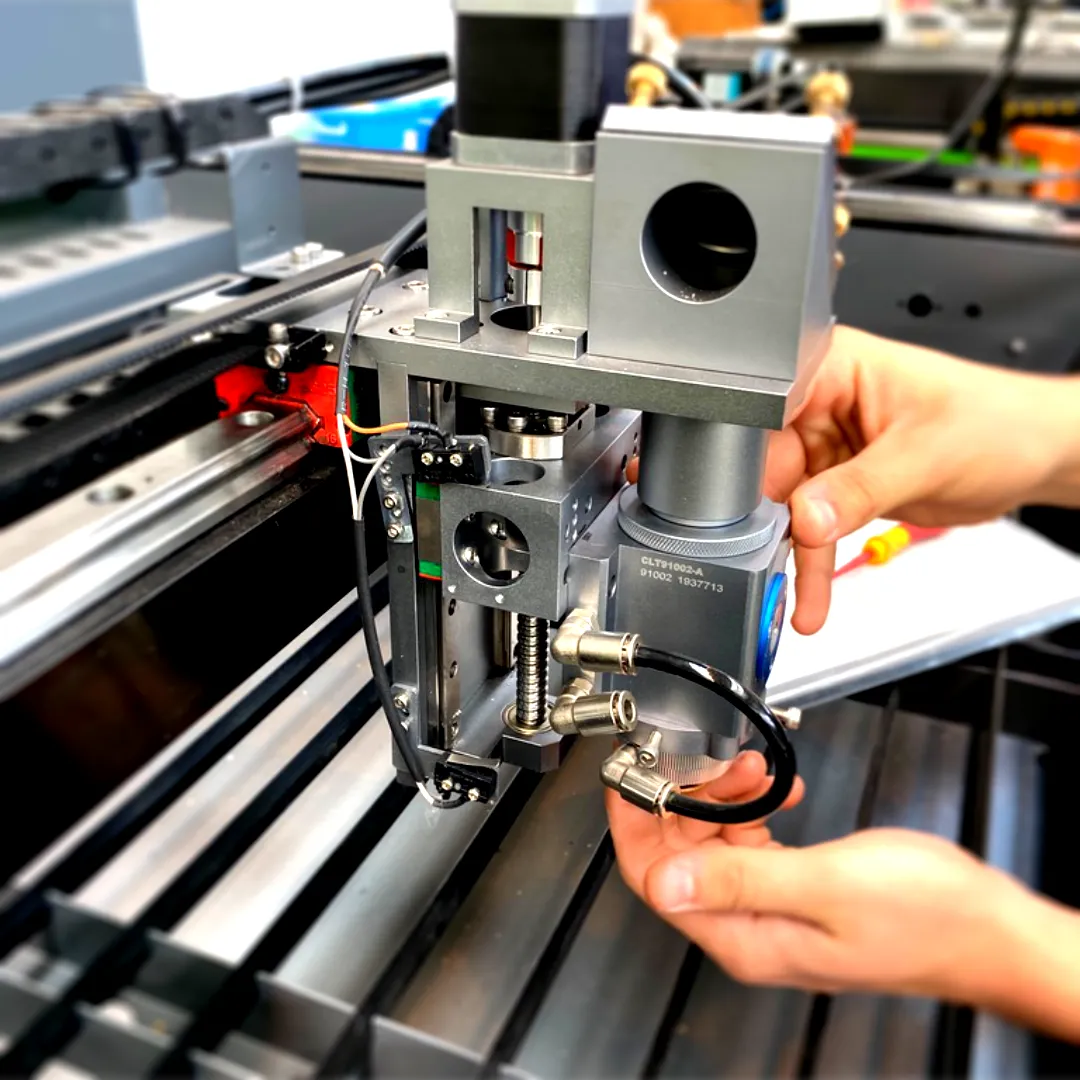
Quick Fibre Laser Welder Quote

Customer Quotation Form

Name(Required)
This field is for validation purposes and should be left unchanged.

Quick Quotation

Customer Quotation Form

Name(Required)
This field is for validation purposes and should be left unchanged.

Service Videos, Basic Self Help Documentation

Videos and supporting documentation can help you easily diagnose or alter certain parameters on your machine.

Self Help GuidesEasy to follow

Self-Help Table Of ContentsSelect one of the items to view

CO2 Laser Support

CO2 Laser support, guides and tips.

Kerf Adjustment Using Lightburn

To get better fitting components that are cut on your CO2 Laser, you may need to adjust the ‘Kerf’ by using compensation within the Lightburn software. Download the ‘Kerf test’ lightburn file and jigsaw file to follow our video tutorial.

Mirror Cleaning Process For Lasertech CO2 Lasers

Keeping mirrors clean on your CO2 Laser cutter is an important, daily maintenance task that should be completed carefully.  This ensures that your CO2 laser can fire the beam onto clean mirrors, reducing the risk of bad cuts and damage to the mirrors.  This simple task will help to keep your laser running in an optimum state. (remember to place your mirrors back in the correct way after cleaning).

How To Create ‘Lead-in’ Lines Using Lightburn

Part of our Lightburn quick tip series. Find out how easy it is to create lead-in cuts on your projects for a better finish.  Using lead in lines on your laser projects allows the machine to start on a point within the waste part of your material.

How To Set Up Lightburn Before You Recieve Your Laser

Simple tutorial on how to set up Lightburn by downloading the trial and investigating the software features before you receive your machine.

How To Fit The Chuck To Your Rotary Device

Short set-up guide for fitting a chuck to your rotary device. Lasertech CO2 Laser.

How To Set Up Your Rotary Device

Quick help guide on how to set up your rotary device on a Lasertech CO2 Laser.

How To Set Up Basic Photo Engraving Using Lightburn

Looking to engrave photos onto materials using your Lasertech with Lightburn. Here’s a quick guide on how to set up Lightburn without having to use Photoshop or an online service.

Setting Speed & Powers In Lightburn

A quick guide on how to set up your layers, speed and power settings using Lightburn.

How To Change The Bed Size In Lightburn

If you need to set the size of your bed (for example if you have upgraded to Lighburn) this guide will help you do just that.

Download the PDF guide below:

Deactivating A Lightburn License To Move To Another Computer

Moving your Lightburn license to a new PC due to upgrading is a relatively easy process. Follow this easy guide.

Download the PDF guide below:

How To Adjust Autofocus

If your machine comes with autofocus, this guide will show you how to adjust the parameters.

Download the PDF guide below:

Use Different Lens Types In Your Laser Cutter

Did you know you can use different lens types in your Lasertech CO2 Laser Cutter? Download this handy guide for their uses.

Download the PDF guide below:

Air Compressor Troubleshooting Guide

Follow our guide to troubleshooting issues with your air compressor on your laser

Download the PDF guide below:

CNC Router Support

CNC Router support and tips.

CNC Router Vaccum Bed And Sacrificial Surface Best Practices

CNC Vacuum Concept

The concept of a vacuum bed is to pull together the surface of the component/board being processed, to the surface of the sacrificial board, creating lateral ‘friction’ between the two surfaces. The more surface area in contact, the more lateral grip can be achieved.

Large Surface area = more ‘grip’

Porous products tend not to ‘seal’ as well as ‘Non-Porous’ such as Acrylic for example, as air can pass through them but these tend to have a ‘rougher’ surface creating more friction between the sacrificial board and the product, compensating. 

Alternatively Non-porous materials i.e.Acrylic, ‘seal’ better so more pull-down force is achieved to compensate for the smoother surface.

Neoprene Zone Sealing

The correct size of neoprene gasket must be used, and one single length ‘per zone’, limiting the amount of joins to just 1, where air can be sucked through losing pressure applied to that zone when the component is placed above. Therefore restricting the flow, creating the pull-down required. It is essential that the channels are completely free of debris and that the neoprene gasket is not ‘stretched’ to fit in the perimeter channel, as this reduces the diameter of the seal causing an uneven surface for the sacrificial board to sit on. 

The seal must be laid over the perimeter groove of each zone and firmly pushed directly ‘down’ into the groove. When the perimeter is complete, the seal must be carefully cut and ‘butted’ together to complete the seal.

When the sacrificial layer is placed on the seal and the vacuum is switched on, the sacrificial board compresses the gasket if the zone is sealed correctly.

Once all Zones have the gasket fitted correctly the vacuum can be switched on and all pipework joints can be checked for leaks that may be causing a pressure drop in the circuit.

Again the concept of each ‘zone’ is that air can only flow through the fibres of the MDF within the area of that zone and directly in contact with the component being processed above. This effectively seals the circuit and affords maximum pull down on the component creating the lateral friction required, allowing the Vacuum pump to do its job.

Sacrificial Bed Surface Skimming (Best Practice)

Both sides of the sacrificial surface must be skimmed to ensure the best possible lateral grip on the component. This removes the ‘skin’ created during manufacture and increases airflow through the fibres of the MDF. This also ‘levels’ the sacrificial surface for accurate machining depth. You can purchase special tools for this from around £100, saving considerable time on large bed surfaces.

General CNC Router Maintenance

Your Mantech CNC Router will provide you with years of productive service if maintained correctly. To aid with this there is a range of daily, weekly, quarterly and yearly maintenance steps that should be undertaken, the below is based upon a 45 hours per week production cycle.

Daily Maintenance

The following maintenance tasks should be completed at the beginning of a production shift on your Mantech CNC Router:
  • Wipe down guide rails, clean out racks and re-grease
  • Keep the table and general machine surface clean and tidy before and after use
  • Remove, clean and inspect cutters to ensure they are in usable condition

Weekly Maintenance

The following should be completed at the start of your shift on a weekly basis:
  • Complete all daily tasks
  • Clean the CNC thoroughly to remove excess grease grime and swarf
  • Check and clean the filters on your vacuum pumps and cabinet
  • Check oil levels in the lubrication system and fill if necessary
  • Check your accessories’ general operation and cleanliness including your dust extractor and the optical surface of your light guards

Monthly Maintenance

The following maintenance tasks should be completed at the end of the production shift on your Mantech CNC Router
  • Complete all weekly tasks
  • Grease all of the linear bearing cars including cleaning and lubricating of rotary bearings where accessible
  • Clean any racks and screws with a scrub brush and degreaser

Quarterly Maintenance

The following maintenance tasks should be completed at the end of the production shift on your Mantech CNC Router:
  • Complete all weekly tasks
  • Grease all of the linear bearing cars including cleaning and lubricating rotary bearings where accessible
  • Clean any racks and screws with a scrub brush and degreaser

Bi-annual Maintenance

The following maintenance tasks should be completed at the end of the production shift, bi-annually:
  • Complete all quarterly
  • Turn off the power, isolate and carefully vacuum out any debris in the electrical cabinet
  • Clean all accessories including the vacuum pump filter, and empty any extraction bags
  • Check the integrity of belts on all transmissions, and replace if necessary
  • Check the integrity of bearings on all transmissions and replace them if necessary
  • Follow standard power-up procedures and complete a thorough check-up of machine operation
  • Check machine levelling of bridge and bed.
  • Electrical connections checked and tested for integrity
  • E-Stops are to be checked and tested for integrity
  • Pneumatic pipework and systems checked
  • Spindle integrity (speed and alignment)
  • DSP/PC Parameters checked and set correctly
  • Homing Sensors/Positioning Checked
Please note:
Bi-annual maintenance should be undertaken by a competent engineer.  Should you wish to book an annual service please contact us at service@mantechmachinery.com or call one of the team on 0121 541 1444.

How to Copy and Move Post Processors to Another Computer in V Carve Pro

Should you need to move your V Carve installation to a new computer or your old computer fails, follow this quick guide to get you going in no time.

Download the PDF guide below:

Quick Links

Contact Us

Mantech (UK) Ltd
Heywood Wharf, Mucklow Hill, Halesowen B62 8DJ

Tel: 0121 541 1444
Company no: 04147199

Follow Us

Instagram
Facebook
Youtube
LinkedIn
Pinterest

Your Machinery Experts

Mantech Machinery UK