10 Key Maintenance Checks for Your Fibre Laser

Keep your laser system running at peak performance with these must-do checks.

At Mantech Machinery, we understand that consistent performance and minimal downtime are critical in today’s fast-paced manufacturing environments. Whether you’re cutting stainless steel, aluminium, brass, or carbon steel, a well-maintained fibre laser machine is key to achieving clean cuts, optimal throughput, and a longer equipment lifespan.
In this article, we cover 10 monthly fibre laser maintenance tasks that every operator or engineer should include in their routine. These checks help avoid costly breakdowns, maintain high cut quality, and ensure your laser cutter operates safely and efficiently.
Before Every Use
1. Check and Recalibrate Capacitance Settings
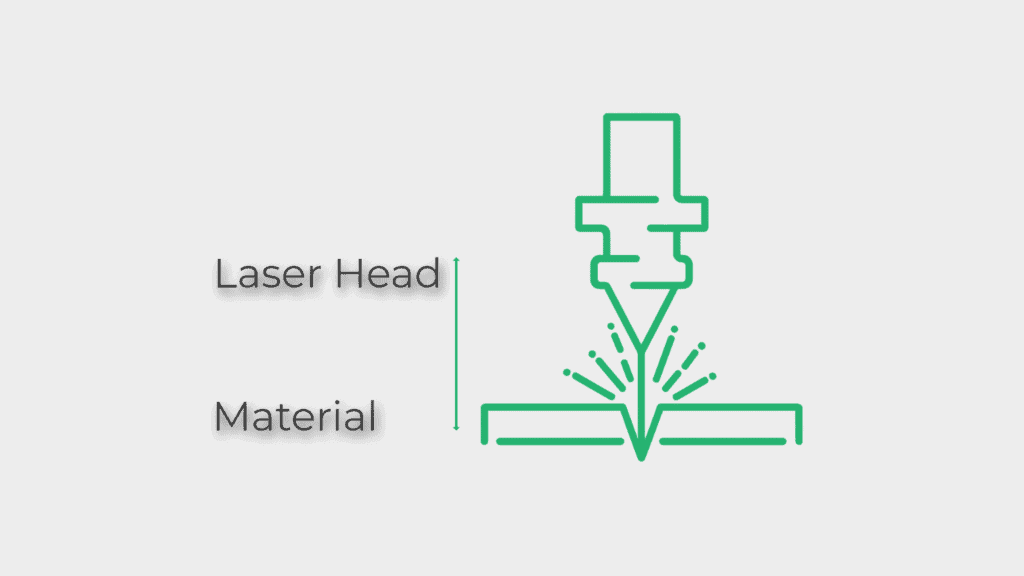
Capacitance settings determine the cutting head’s vertical position relative to your material. If the calibration is off, even slightly, it can lead to unstable cutting performance, inconsistent focus, and potential material damage.
At least once a month, perform a full auto-calibration via your machine’s control panel. If your system allows, manually verify key Z-axis values to ensure precise height tracking during operation. A properly tuned capacitance system ensures smoother edge quality and reduces the risk of head crashes.
2. Review and Adjust Assist Gas Pressures
Gas flow plays a vital role in the laser cutting process — whether you’re using oxygen for mild steel or nitrogen for stainless. Incorrect pressures can lead to poor cut edges, excessive burr, or even incomplete cuts.
Check all gas regulators and pressure gauges. Compare settings to the recommended values for the materials and thicknesses you’re processing. If you’re cutting a variety of metals, be sure to inspect the gas lines and connectors for leaks or pressure drops during operation. Maintaining stable, accurate gas delivery supports both cut quality and productivity.
3. Clean the Laser Head, Nozzle, and Bottom Lens
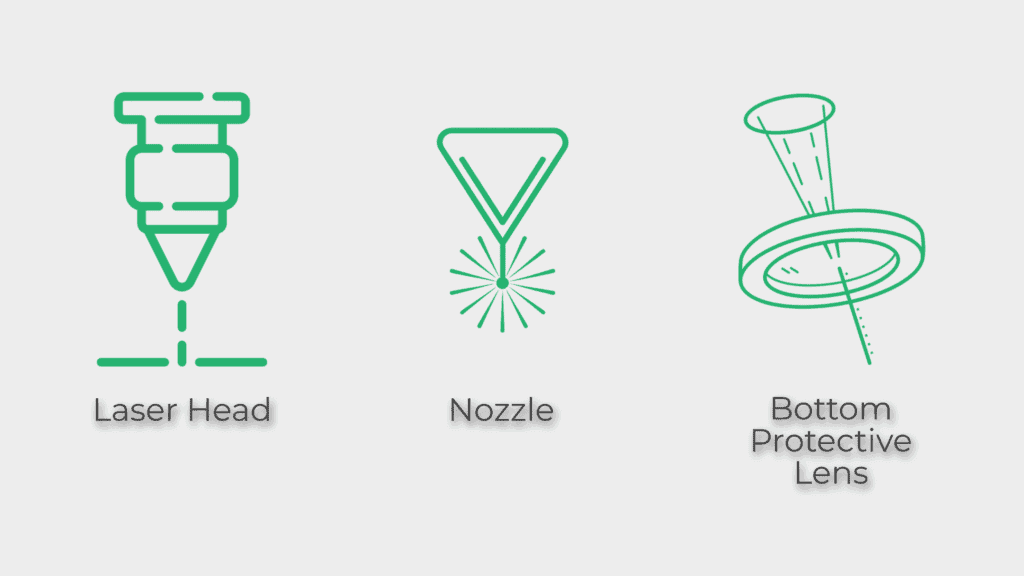
Residue build-up from slag, smoke, and fine particulates can accumulate quickly on the laser head and optics. If left uncleaned, these contaminants will scatter the beam, degrade focus, and reduce the overall efficiency of the laser.
Using lens-safe wipes and a proper nozzle cleaning solution, clean the lower portion of the laser head, including the nozzle and protective lens. Avoid touching optics directly with your fingers — and never use abrasive cloths or chemicals not approved for optics. Keeping these components spotless ensures optimal beam transmission and prolongs the lifespan of expensive consumables.
Daily Checks
4. Maintain a Clean Operator Environment

The reliability of any CNC laser system depends as much on the user interface as it does on the hardware. Over time, grime, dust, and oil can accumulate on touchscreens, keyboards, and handheld controllers, leading to input errors or unresponsive commands.
Regularly wipe down the control surfaces with a lint-free cloth and anti-static solution where necessary. Avoid over saturating with fluid, and pay special attention to areas where dust can collect, such as USB ports or emergency stop buttons. A clean and organised operator station encourages better workflow and reduces frustration.
5. Check for Leaks Around Fittings and Cooling Lines

Fibre laser systems rely on effective cooling to maintain stability. Even a minor leak — whether from coolant or oil — can quickly escalate into a critical failure if left unnoticed.
Inspect the full length of coolant pipes, fittings, and manifolds for signs of moisture, corrosion, or staining. This includes the back of the laser unit, chiller connections, and internal tubing around pumps and filters. If you spot drips, tighten the fittings or replace damaged hoses. Be proactive: a small leak today could mean expensive downtime tomorrow.
Weekly Checks
6. Test Nozzle and Beam Alignment
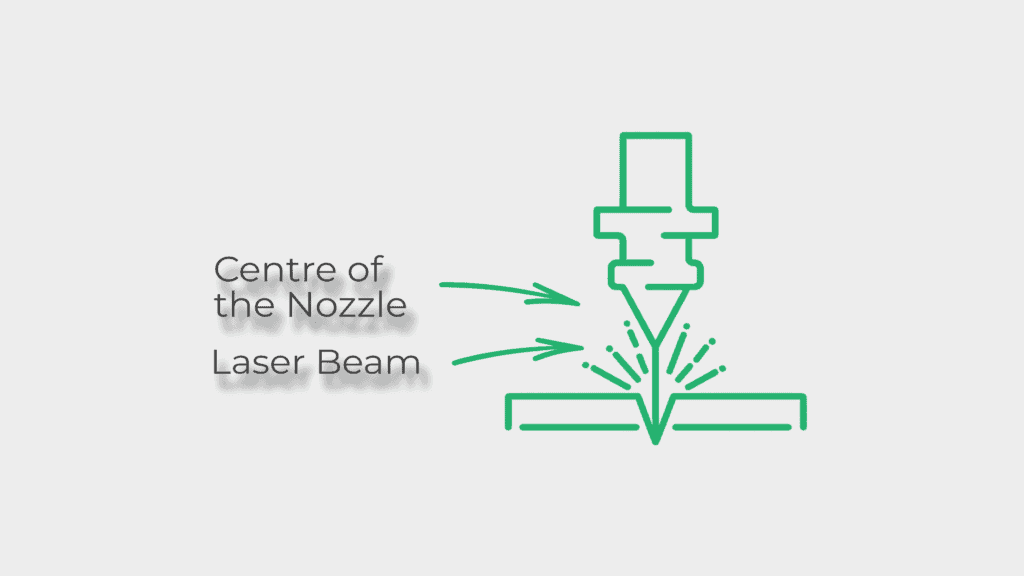
Accurate cutting depends on the laser beam being perfectly centred through the nozzle. If the beam deviates even slightly, it can result in asymmetrical cuts, material scorching, or nozzle damage.
Most fibre lasers include a beam centring routine within their software. Run this test weekly and make small positional adjustments to the nozzle if needed. If you use multiple nozzle types, test each one to ensure consistency across all cutting configurations. Precise alignment translates directly into better edge quality and reduced scrap.
7. Inspect the Ceramic Ring for Damage or Wear
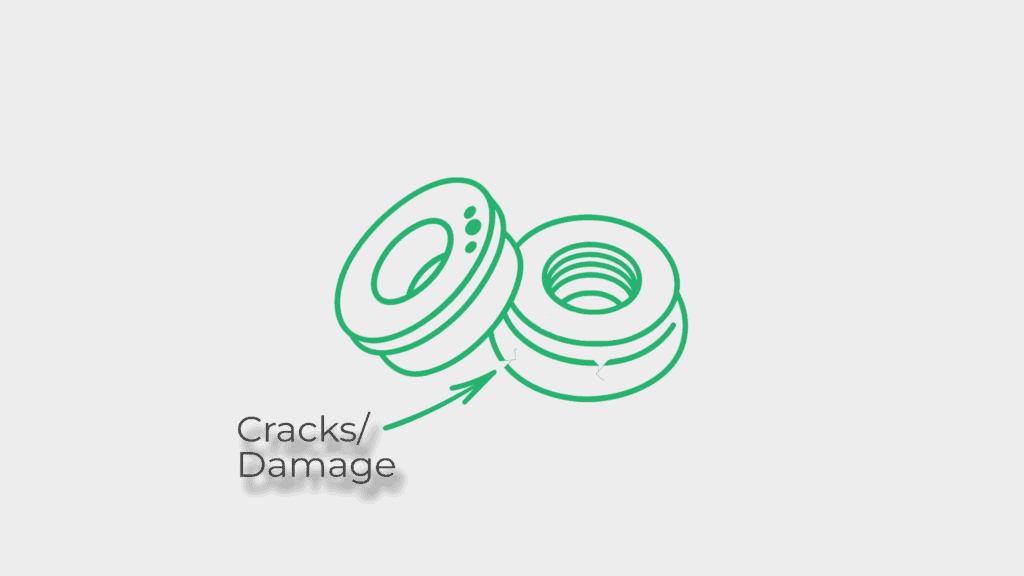
The ceramic ring surrounding the nozzle is more than just insulation — it helps stabilise the nozzle, supports the protective lens, and plays a role in beam shaping. If it’s cracked or worn, you may see fluctuations in beam delivery or instability during cutting.
Examine the ceramic carefully for chips, burn marks, or looseness. If there’s visible wear or the ring no longer holds its position securely, replace it immediately. This small, inexpensive part is often overlooked — but it can significantly impact cut reliability if not maintained.
8. Clean and Empty the Slag Collection Trays
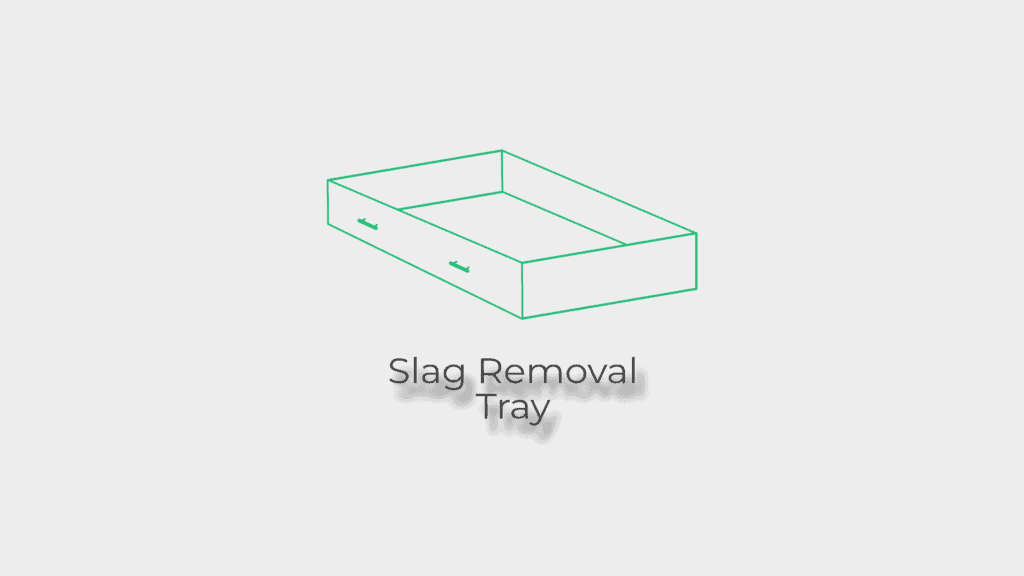
During cutting, molten material accumulates in trays beneath the cutting bed. These trays can fill quickly, especially during long production runs or when cutting thicker materials.
Slide out each tray and safely empty the contents into a disposal bin. Wear gloves and protective eyewear when handling slag, as edges can be sharp and material may still be warm. Once emptied, wipe the trays clean and inspect for warping or residue build-up. A clean tray promotes better airflow and reduces fire risk in the cutting area.
9. Remove Dust from the Electrical Cabinet

Dust build-up around electronics, fans, and filters can reduce airflow and increase the risk of overheating — particularly during summer months or in dusty factory environments.
Open the electrical cabinet (with the machine powered off) and carefully vacuum or blow out dust using a static-safe air blower. Pay attention to control boards, connectors, and fan housings. Clean filters and check that all fans are running freely. A clean cabinet is essential for maintaining signal integrity and avoiding heat-related faults.
Every 6 Months
10. Service the Chiller and Replace Coolant (Every 6 Months)

The laser’s chiller plays a crucial role in maintaining operating temperatures, particularly for the laser source and optics. Dirty or degraded coolant reduces thermal efficiency and puts your machine at risk of overheating.
Every six months — or more frequently in high-load environments — fully drain the chiller circuit. Flush the system using approved procedures and refill with fresh, manufacturer-recommended coolant or deionised water with corrosion inhibitor. Avoid mixing coolant types and always record the date of service.
The Bottom Line: Maintenance is Profit Protection
Every minute of unplanned downtime costs more than just machine hours — it affects your delivery schedule, customer satisfaction, and bottom line. By committing to a monthly maintenance plan, you’re not just protecting your machine — you’re protecting your workflow and your business.
These ten fibre laser maintenance checks are simple, practical, and proven to reduce costly issues over time. Build them into your operations, delegate responsibility clearly, and keep a log to track your maintenance history.
If you’re unsure about any of these checks, need consumables or parts, or want to set up a service agreement, our team at Mantech Machinery is here to help.
📞 Call us on 01384 279 778
📧 Or email support@mantechmachinery.com
🌐 Click Here for more machine care guides and support
Fibre Laser


